All in one WP migration stuck on import 100% solved
Sometimes while migrating your website into a new hosting or domain, WP migration stops working or stuck on any percentage. It can be stuck on 100%, 60%, 10%, or stuck on start. We have a working solution to resolve this issue. It can be stuck on initializing the database or importing files.
In this article, we have a complete guide that you can easily resolve this wp migration stuck problem.
Steps to resolve All in one WP migration stuck on import
There are simple steps you need to follow for successful migration. We also have provided a complete video guide below that you can watch and resolve the issue.
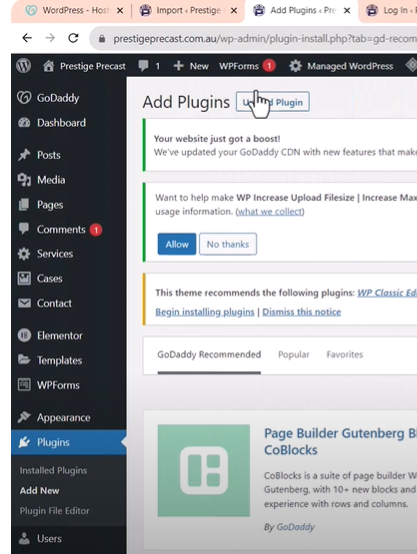
Install Wp File Manager Plugin

- Go to Plugins and click on “Add New“
- In the search box search for “Wp File Manager plugin“.
- You will see the file manager plugin. As shown in the above screenshot.
- Click on Install and Then click on Activate.
Now wp file manager plugin is successfully installed. Move on next step.
Install all in one WP migration unlimited extension
“All in one wp migration” provides an unlimited extension which is a paid plugin. You need to install this plugin via the same steps as given above.
- Click on given above button and download all in one wp migration unlimited extension.
- After downloading this plugin, you need to follow the steps to install this on your dashboard.
- Click on “Plugins” and “Add New“.
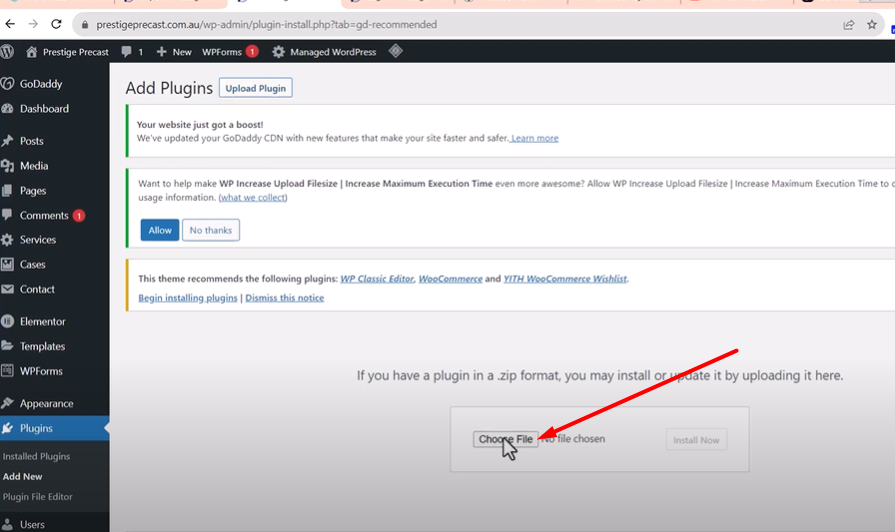
- Click on the “Upload Plugin” button as shown in the above screenshot.
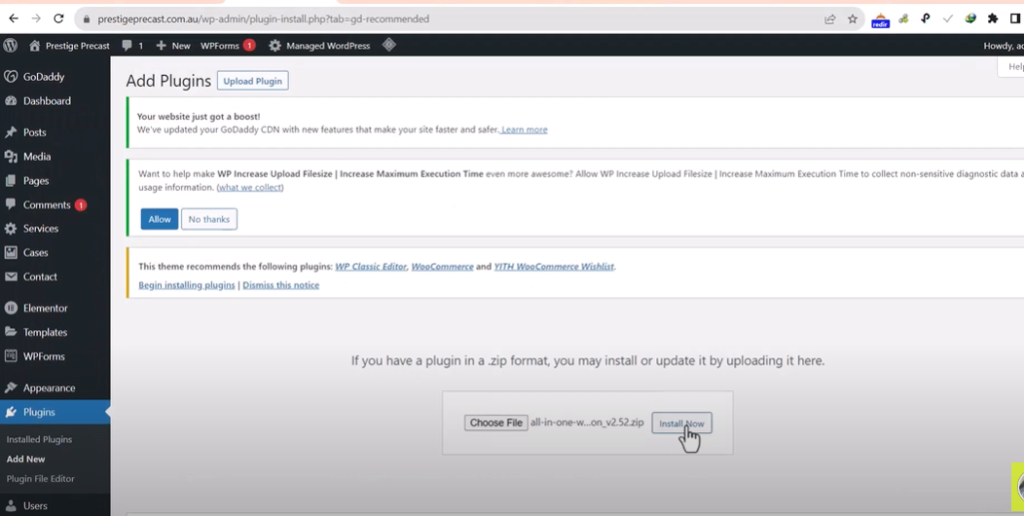
- Now click on “Choose File” and select the downloaded file. The unlimited extension plugin that you have recently downloaded.
- Now click on the “Install Now” button and then click on Activate.
Now both necessary plugins are installed. If you have any confusion you can watch given above video tutorial.
Upload backup file or migration file in backup folder
We need to upload the migration file in the migration backup folder. The same .wordpress file that you upload while wp migration plugin.
Note: Your max upload file size should be more than your backup file size. You can read this article on how to increase the max upload file size in WordPress within just a few clicks.
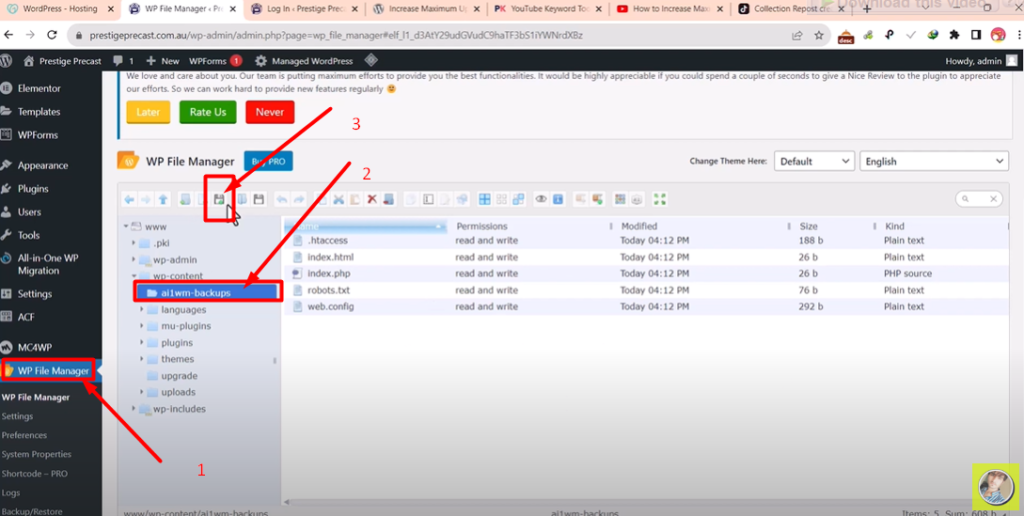
- Click on the “Wp File Manager” option.
- Click on the “wp-content” folder.
- Expand “ai1wm-backups“
- Now click on the “Upload” button as given above screenshot. Mentioned number 3.
- Upload your migration file in this folder.
The uploading of backup files can take time to upload. You need to wait until.
Restore backup file from migration backups
This is the final step. We are going to restore our backup file from the backup folder. Keep in mind, that this is the same backup file that we recently uploaded via the wp file manager plugin.
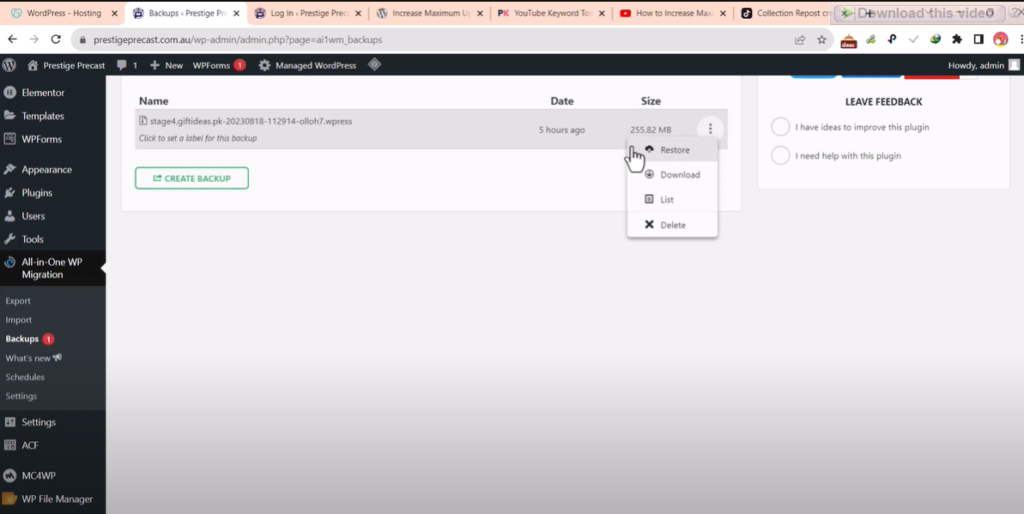
- Access All in One WP Migration option as given screenshot above.
- Click on Backups.
- Now from 3 dots, click on Restore.
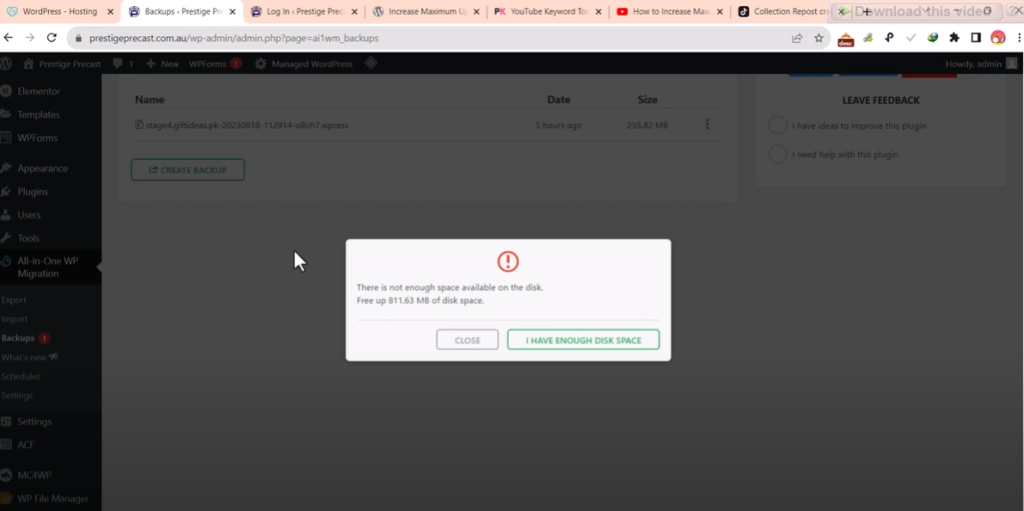
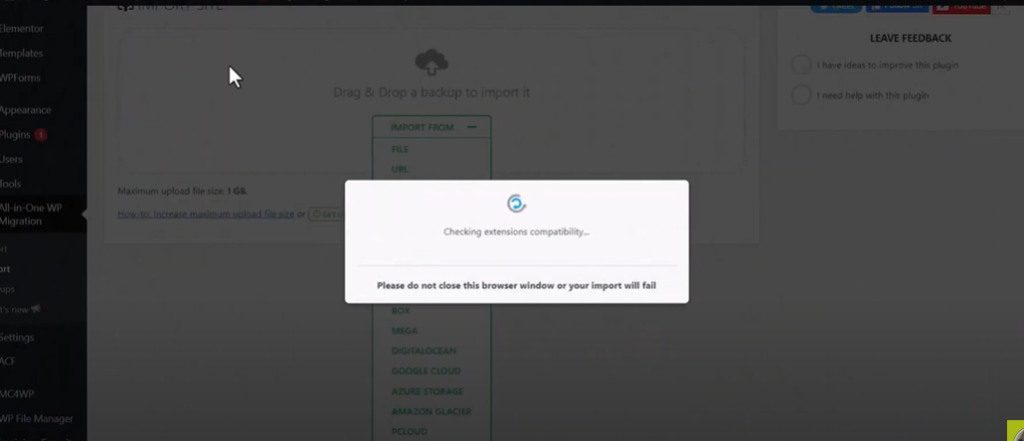
- You will see a notification that shows in the next step. Click on I have Enough Disk Space.
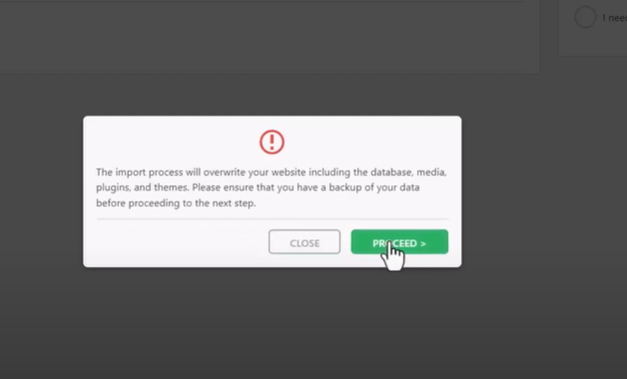
After a few seconds, you will this kind of notification. Just click on Proceed.
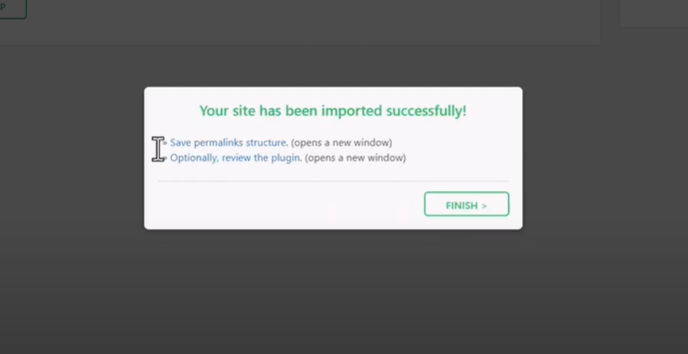
Congratulations! Your site has been imported successfully!
Finally, your error is resolved and the site is also has been imported successfully. I hope this method works for you, if it works fine Please comment below with your own words. If it does not work you can also comment below.