
Step-by-Step Guide to Troubleshoot Your V60 Brew

Unlock the Perfect V60 Brew: A Troubleshooting Adventure
Brewing coffee with a V60 can be an exciting journey, but it’s not without its challenges. I’ve faced hiccups too! This guide will help you solve common brewing issues with simple and effective steps, so you can enjoy a delicious cup every time. Let’s elevate your coffee game together!
Essentials for Your Brewing Quest
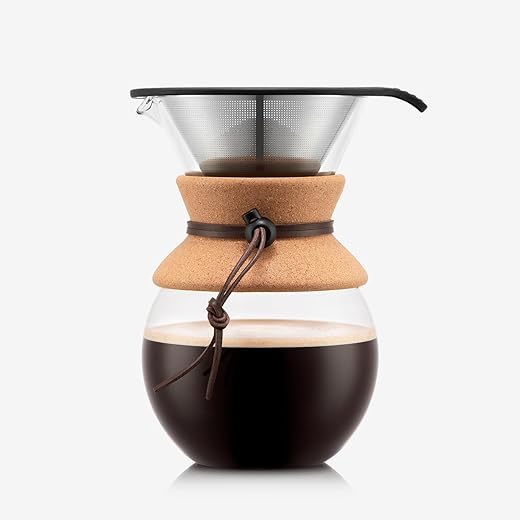
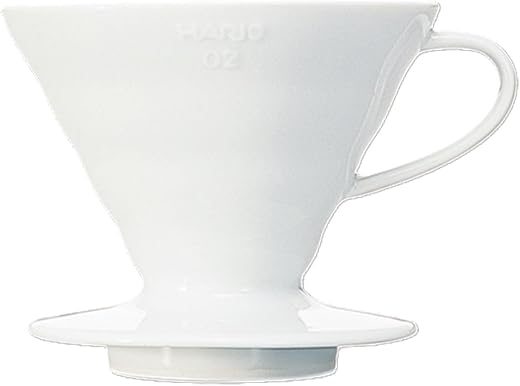
Before diving in, make sure you have your V60 setup ready with quality coffee, water, and tools to conquer any brewing challenge:

Step 1: Assessing Your Coffee Grind
Is Your Grind Worthy of the Perfect Brew?Examine your grind size. The grind of your coffee can make or break your brew. Let’s analyze whether you’re using the right grind size for your V60 to ensure optimal extraction.
Test different grind sizes. Start with a medium-fine grind, similar to granulated sugar. This allows the water to interact effectively with the coffee grounds, extracting the right flavors. If your coffee tastes bitter or over-extracted, try a coarser grind.
Use a burr grinder for consistency. A burr grinder provides uniform particle size, which is crucial for even extraction. If you’re using a blade grinder, you might end up with a mix of fine and coarse particles, leading to inconsistent flavors.
Brewing example. Imagine you’re brewing a light roast. If your grind is too coarse, the water will pass through too quickly, resulting in a sour flavor. Conversely, with a grind that’s too fine, you might end up with an overpowering bitterness.
Adjust based on taste. Always trust your palate! After each brew, take notes. If the coffee isn’t satisfying, experiment further with different grind settings until you find your sweet spot.

Step 2: Water Temperature Troubles
Is Boiling Hot Always the Best Temp?Check your water temperature. The temperature of your water plays a critical role in flavor extraction. Aim for a range between 195°F and 205°F (90°C – 96°C) for the perfect brew. If your water is too cold, you’ll miss out on extracting the rich flavors; too hot, and you risk over-extraction, resulting in bitterness.
Use a thermometer for accuracy. I often use an electric kettle with a built-in temperature setting. If you don’t have one, simply bring water to a boil, then let it sit for about 30-60 seconds to cool down to the ideal range.
Perform a taste test. Brew a cup at different temperatures within the recommended range. For instance, when I tried brewing at 200°F, I noticed brighter acidity and more vibrant flavors compared to a brew at 210°F, which tasted considerably flat and dull.
Adjust based on the coffee type. Light roasts usually shine at higher temperatures, while darker roasts might benefit from slightly cooler water.
Track your results. Pay attention to how the temperature affects your brew’s flavor and refine according to your favorite taste profiles.

Step 3: Pouring Technique Magic
Could Your Pour Be the Silent Killer of Flavor?Master your pouring style. The way I pour water over coffee in my V60 significantly influences extraction. Let’s enhance your pouring technique to elevate your brews!
Start with a steady pour. Use a gooseneck kettle for precise control. Begin by pouring in a circular motion from the center outward, moving towards the edges, and then back to the center. This ensures even saturation and reduces channeling.
Timing is key. Pour in two stages: bloom and main brew. For the bloom, pour twice the weight of your coffee in water (e.g., 30g coffee = 60g water) and let it rest for 30-45 seconds. This allows gases to escape and prepares the coffee for optimal extraction.
Pour consistently. During the main brew, aim for a continuous pour, adjusting your speed to maintain a steady flow. I like to aim for a total brew time of around 2.5 to 3 minutes, tweaking my technique to reach this target.
Observe and adjust. If the brew tastes weak, try a slower pour to extract more flavor. If it’s too bitter, speed up a bit. Your taste buds will guide you in refining this art!

Step 4: Brew Time: Finding the Sweet Spot
Is Time Playing Tricks on Your Taste Buds?Time your brew carefully. The total brew time can greatly impact flavor, so aim for a duration between 2.5 and 3.5 minutes for your V60. Let’s explore how to find that perfect timing!
Start with a timer. When I brew, I set a timer on my phone to monitor the entire process. Remember, the goal is to avoid under or over-extraction. Under-extraction might result in a sour taste, while over-extraction could make your coffee bitter.
Experiment with specific intervals. For example, if I find my coffee is too sour, I might extend my brewing time by 30 seconds and taste the difference. Conversely, if it’s overly bitter, I reduce the time.
Break it down. Divide the brew into stages:
Record your findings. After each brew, take notes on how timing affected flavor. This practice empowers you to adjust your technique confidently, honing in on your ideal brew time for those delightful cups!

Step 5: Experimenting with Ratios
Is Your Coffee-To-Water Ratio Missing the Mark?Discover the magic of ratios! Brewing coffee is all about the right balance between coffee and water. I’ve found that adjusting these ratios can dramatically transform my V60 experience.
Start with a standard ratio. A good baseline is 1:15, meaning for every gram of coffee, use 15 grams of water. For example, if I use 20 grams of coffee, I’ll measure out 300 grams of water.
Tweak based on taste. If I prefer stronger coffee, I can reduce the water (e.g., try a 1:14 ratio). Conversely, if my brew is too bold, I might extend it to 1:16. Taste is subjective, so experiment until you find your sweet spot!
Keep notes. Each time I adjust the ratio, I jot down my observations. This helps me pinpoint what I enjoyed most about each brew. Perhaps at a 1:14 ratio, I’ll notice more pronounced flavors, while a 1:16 might yield a smoother finish.
Be mindful of coffee type. Darker roasts can be forgiving, while lighter roasts may need precise ratios to shine. Adjust your approach accordingly, and watch your V60 skills bloom with every cup!

Congratulations, You’re Now a V60 Troubleshooting Ninja!
With these steps, I can tackle any brewing issue and enjoy the delicious coffee I’ve been craving. I encourage you to give it a try and share your results! Remember, every cup is an opportunity to improve. Happy brewing!


Wow, this guide is seriously helping me step up my V60 game! I was clueless about grind size before. Who knew it could make such a difference? (And it’s way easier than I thought.) I’m off to try a coarser grind. Wish me luck! ☕️🙌
Hey, Michael! I tried the coarser grind too, and it made mine taste way smoother. You’ll love it!
Glad to hear it’s helpful, Michael! Let us know how the coarser grind turns out for you!
Good luck! Just don’t overdo it on the grind size, or it’ll taste weak. Keep experimenting!
Is there really a difference in brewing method when I switch the pour speed? I notice such varying flavors based on that. 😖 Anyone experienced similar?
Definitely! Pour speed impacts the extract, so you’re onto something! Experiment and let us know!
For sure! A slow pour allows more extraction, while fast can lead to a lighter flavor. It’s fascinating!
Yes! I’ve changed my pour speed as well and noticed it affects everything! Just keep tweaking!
As a new V60 user, I find this guide super duper helpful! I’m still mastering the steps, but I didn’t know how much joy I could find in brewing coffee! ☕️❤️ Feeling like a barista already!
That’s awesome to hear! It doesn’t take long to get the hang of it!
Happy to help, Rachel! Being a home barista is a fun journey! Keep practicing!
Yes! The more you brew, the more confident you’ll feel. Keep it up!
Okay, I’m loving this guide! I wasn’t expecting to learn so much about coffee making! I’ll definitely share with my coffee buddies. Gotta bring them onto this level! ☕️👍
Yay! So glad to hear that! Spread the coffee love!
Let us know their thoughts! More minds = more ideas!
That’s awesome, Ben! Hope your friends enjoy it as much as you’re! 🍵✨
Anyone else fine-tuning their brew times? I swear, I’ve been waiting too long and my coffee ends up bitter. What’s the best time you’ve guys found?⏱️
I go for 3 min! It’s the sweet spot for most beans. Don’t rush it!
Great point, Oliver! 2.5 to 3 minutes is usually a good range to aim for. Try it out!
Yeah, under-extraction or over-extraction can make a huge difference. Keep an eye on it!
Awww, I thought I was doing everything right! 😢 I guess I need to check my water temperature. Everyone’s always like, ‘just boil water’, but that’s not enough is it? Ugh, time to fine-tune things!
I felt the same way, Sophie! Once I checked my temp, things improved so much! Keep it around 200°F!
Yes, Sophie! Water temp can totally change the flavor! You’re on the right track by investigating it!
Oh wow, you should grab a thermometer if you don’t have one. It’ll help a lot!
This is not what I expected. I thought troubleshooting coffee was just about fixing things. I didn’t realize what a science it is! Honestly, this feels more like a chemistry class now! 😂 Anyone else feel this way?
Haha Jake! Coffee really is a science. But experimenting is fun, right? So worth it! 😄
It does get pretty nerdy, but once you nail it, you’ll feel like a coffee wizard!
Absolutely! It’s like brewing a potion! Keep those experiments going!
I never thought of ratios! My brews always taste kinda… watery. Now I feel like I have a mission! 💪 I’ll be on a quest for the perfect ratio this week! Any tips? 😁
Experiment with ratios for sure! Let us know how it goes, Grace!
I did too! It’s amazing how much richer the coffee can taste when you get it right.
Ooh, I had that problem before! Try starting with a 1:15 ratio. It made all the difference for me!
Is it just me, or is finding the right grind SO hard?? 😂 I tried fine and then medium, and I feel like I’m stuck in the coffee grind struggle! What’s the secret?
Same! I had to try out at least 5 different settings before finding what worked! Keep it up!
I had that dilemma too! I would suggest going slightly coarser and adjusting from there. Experimentation is key!
Lots of trial and error, Liam! You’re definitely not alone in this. Keep adjusting!
LOL, pouring technique magic?? I kept pouring like a total rookie. Guess I need to work on that. Thanks for pointing it out, I’ll try to pay attention next time. 🤦♀️ What’s your favorite technique?
Good question, Emma! You might want to check out the video tutorial section too – that could really help!
I’m with you, pouring can be so awkward! I think I pour too quickly and it messes up the brew.
Hey Emma! For me, it’s all about a circular motion. Gives a nice even extraction, just watch the flow speed!